Condo Renovation: Finished!!
At long last, we’ve finished with our condo renovation! Wow, thought I’d never be able to say that.
Specifications:
Ceiling: All false ceilings, with white paint.
Walls: Painted with an off-white brown tint paint.
Floors: Real teak wood with dark walnut stain.
Windows: UV clear windows on sliding frame.
Doors: Solid wood doors with dark frame.
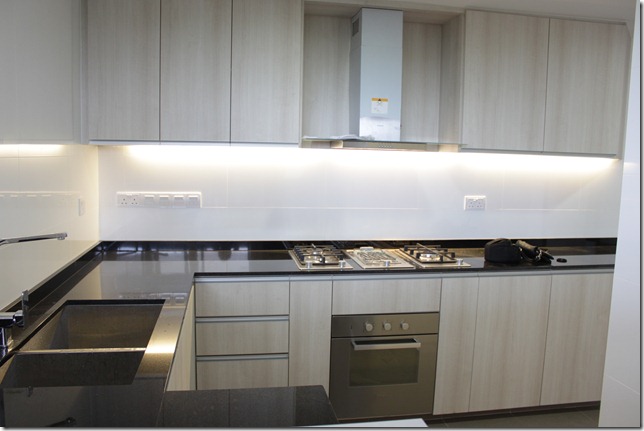
Kitchen/bathroom tiles: Solid homogenous tiles. 30mmx60mm horizontal for kitchen walls.
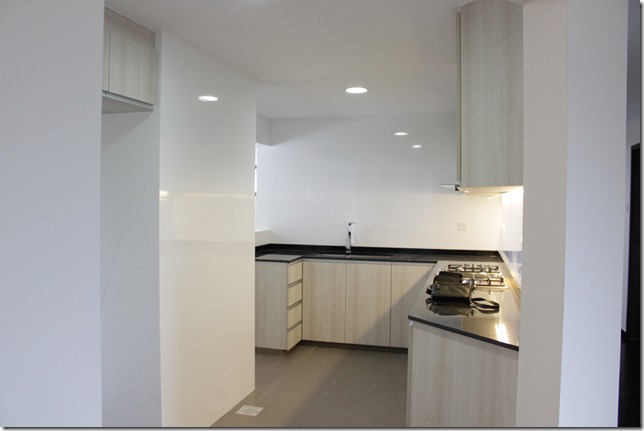
Kitchen addendum: We went all-out (at least within our budget) for the kitchen… my wife is a fantastic cook, so it was designed and optimized for cooking and not eating out.
Lighting: CFLs for utility hall, Halogens for warm lighting in living areas. ‘Big’ lights are all incandescent, but will most likely be changed out for more efficient, but warm, CFLs. In fact, I have a plan to design my own LED lighting to replace CFLs and Halogens in the future.
Light switches and power jacks: High quality, solid tactile feedback.
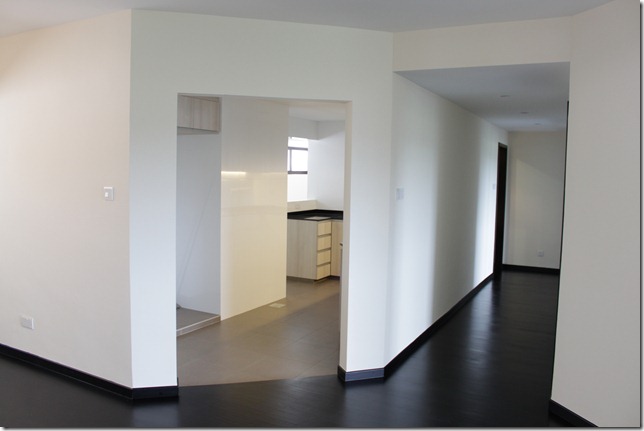
Floor plan: I designed the floor plan to have an ‘open kitchen’ theme that was more open and allowed the great Singapore tropical winds to permeate the place. The 45 degree angles gives it a more open feeling that the previous old boxy room look.
You can see the previous blog entries for details on how I designed the floor plan (in 2D and 3D).
Summary: It all started out because there was no shower in the guest bathroom. That eventually led me to completely redesign everything since we had to ‘move’ one wall. May as well move them all at that point. I’ve always wanted to do my own home design, and this is it!
Without further ado, here are the pictures:
Looking into the open kitchen from living area.
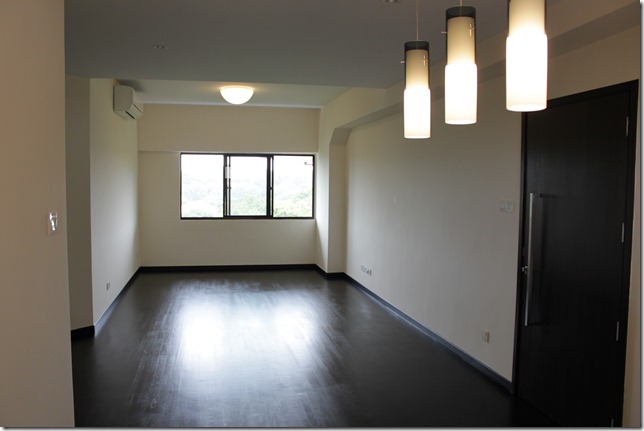
The living area. The wall has cable jacks and Ethernet built in as well as power.
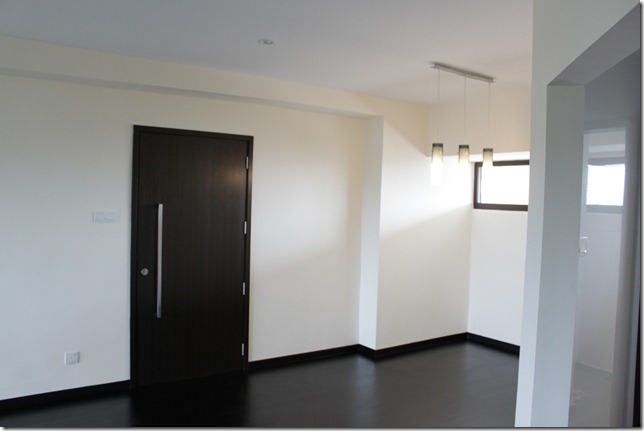
The main entrance.
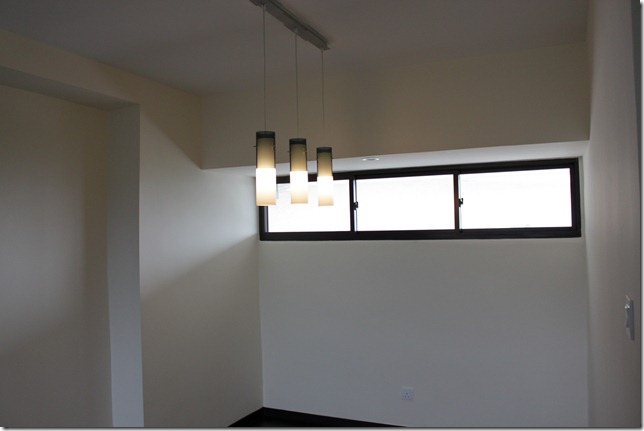
Dining area.
A view from the dining area to the living area.
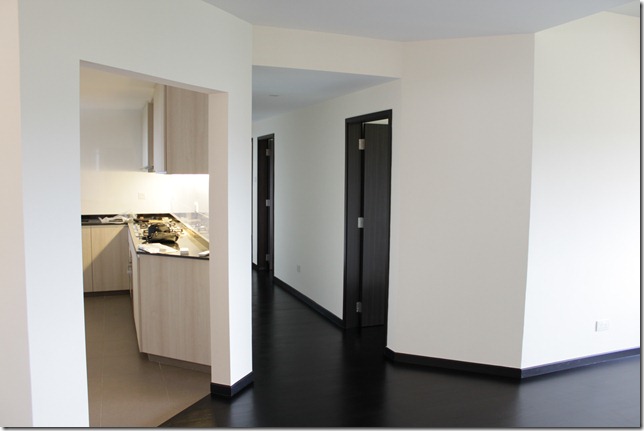
The view of the kitchen and hall entrance from the main door.
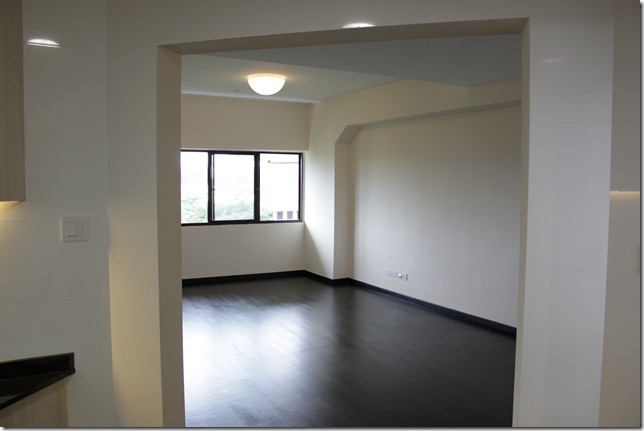
A view of the living area from just inside the kitchen entrance.
The kitchen viewed from the entrance.
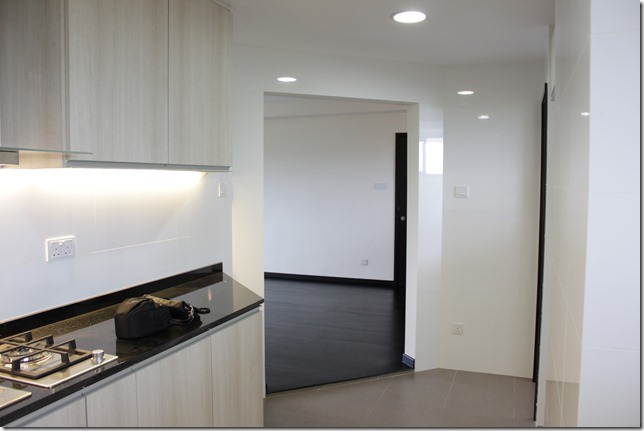
The kitchen viewed from the utility hall. It’s an open kitchen with LOTS of air flow from all of the windows. The windows are all sliding so that they can be completely opened and all of the great tropical breeze to blow through.
A view of the kitchen entrance.
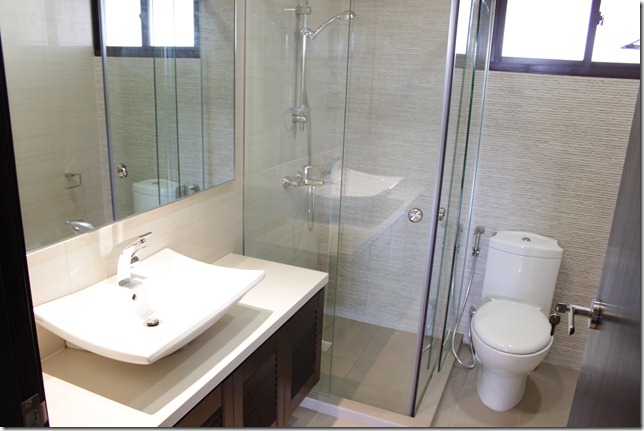
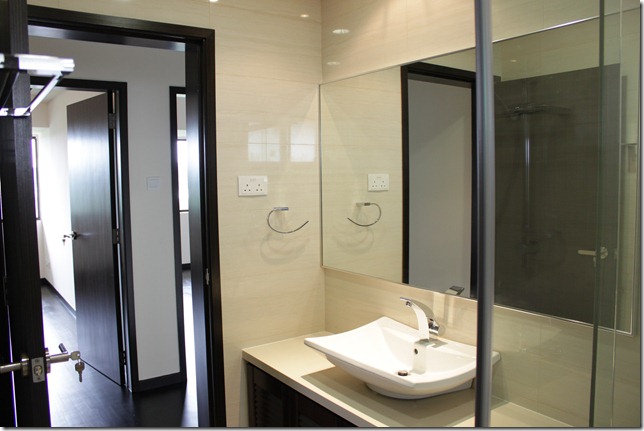
This is the guest bathroom… a very massive improvement from the old one.
Another view of the guest bathroom.
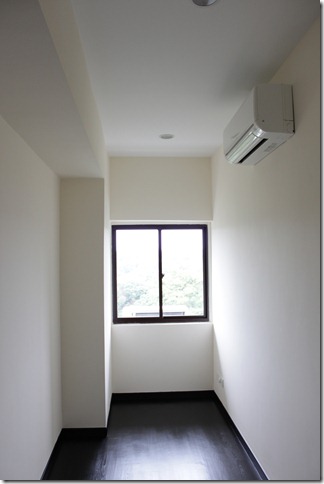
The new storage room that could double as a baby bedroom or a maid’s room. In my place, it will most likely be an engineer’s lab. I made sure, even though it was a ‘storage’ room, it had an air con unit and full power/cable/Ethernet installed.
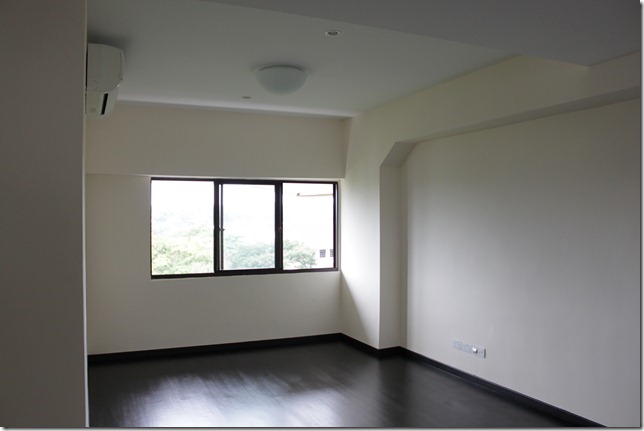
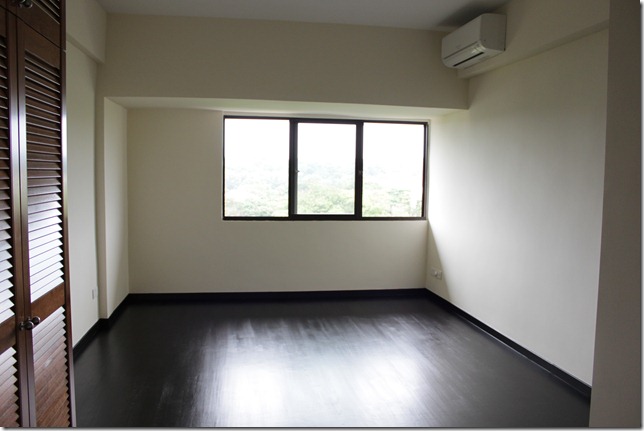
The master bedroom.
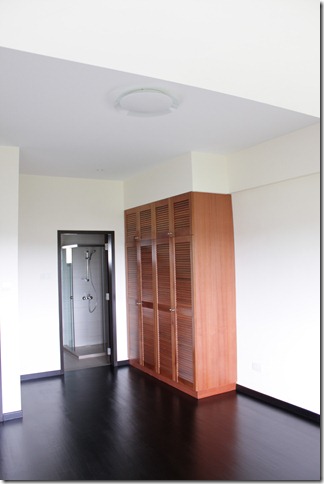
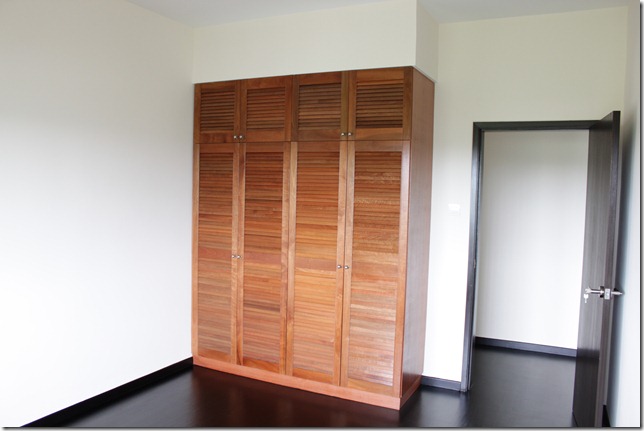
Master bedroom showing the new closets and entrance to the master bathroom.
Yet another lovely view of the master bedroom.
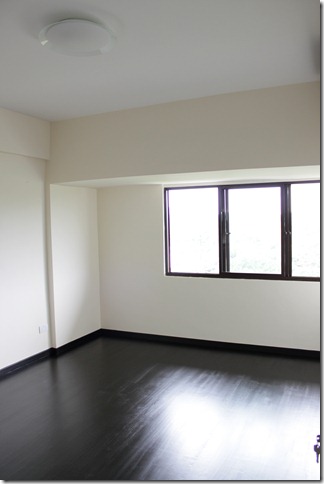
The guest bedroom.
So here are some before/after shots. ![]()
| Dining/Living area | |
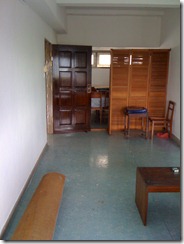 |
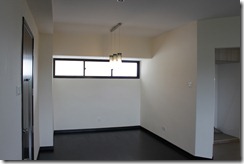 |
| Before | After |
| Living area | |
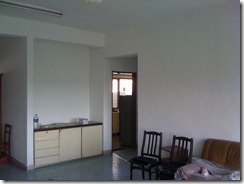 |
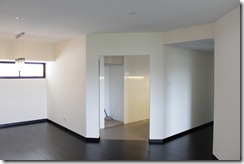 |
| Before | After |
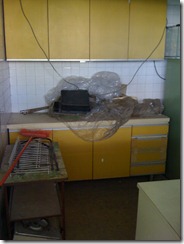
| Kitchen | |
 |
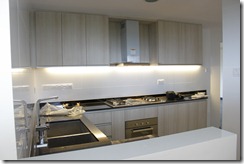 |
| Before | After |
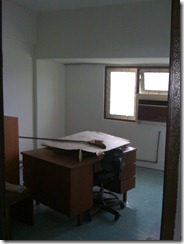
| Master bedroom | |
 |
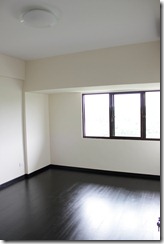 |
| Before | After |
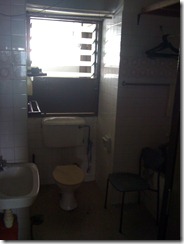
| Master bathroom | |
 |
|
| Before | After |
Well, that’s it for the condo renovation stuff, next pictures will be of our place after we’ve moved in.
And then this blog will be more about my projects, my wife and our cat. ![]()
-Todd

Todd, your condo is AWESOME!!!!!! What a nifty place to call home!
Thank you – we are really looking forward to moving in!
You have done a great job Todd. Very good layout and the over-all look and feel of your condo is classy and cosy. I will also renovate my condo unit. Can you share who is your contractor please?
Hi David,
Thanks for the nice comments. I sent his # to you in the email you left.
-Todd
Hi Todd, I’m really impressed with your renovation!!! Love everything. Can you please share the contact details of your contractor? I have just bought a place and am now shopping for a reliable contractor.
Thanks a bunch!!
Christine
Hi Christine, sorry for late reply, please private email me and I’ll send you the details.
-Todd
It would be good to show photos when the furniture is added.
Luv the design….can share ur contractor details. I just bot a condo unit and need some recommendation n quotes.
Pls PM me your contractor details n if u can PM ur reno cost too,wl be highly appreciated.
wow nice! looking forward to see the updated pics
Its such as you read my mind! You appear to grasp so much about this, like you wrote the guide in it or something. I feel that you can do with a few % to force the message house a bit, but other than that, this is fantastic blog. A great read. I’ll certainly be back.
Just bought a condo and start making preparation. Would you be kind to share your contractor details & reno cost too?
I am thinking of renovating my condo toliet, just a quick question. Is it even possible to move the toliet bowl location? Eg. from point A to point B in the same toliet
Included is” spcially formulated” paint, abc a rough surface so the new layer of paint will then need to stretch and
varnish yourself. From the earliest known cave
paintings to the Royal Academy’s summer exhibbition under the name
Granose.
Please let me know if you’re looking for a article author for your weblog.
You have some really great posts and I believe I would be a good asset.
If you ever want to take some of the load off, I’d really like to write
some content for your blog in exchange for a link back
to mine. Please shoot me an email if interested.
Kudos!
Hi. Nice Reno. Can I pls have your contractor contact. Thank you.
Simple and nice design! look bigger and comfortable…
Hi Todd, we love the feel of your newly renovated condo, do you mind sharing your contractor contact with us? Thanks a lot!
Kindly send his contact to my email, chiroro@live.co.uk
Wow! Great Designs Thanks for sharing 🙂
I am also Looking to buy a condo in Singapore , these renovation finishes are really nice.